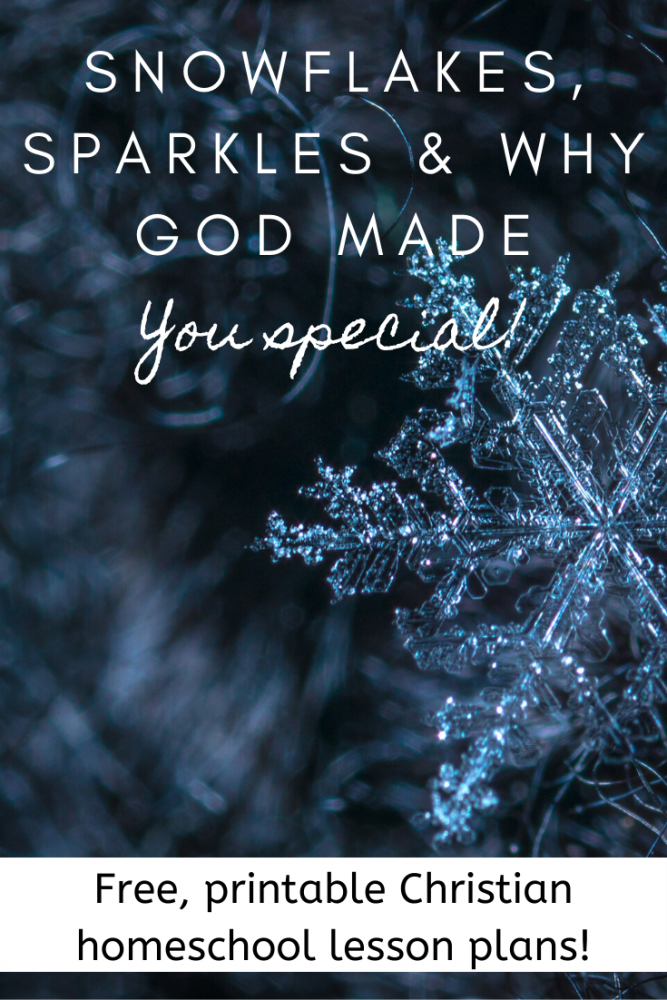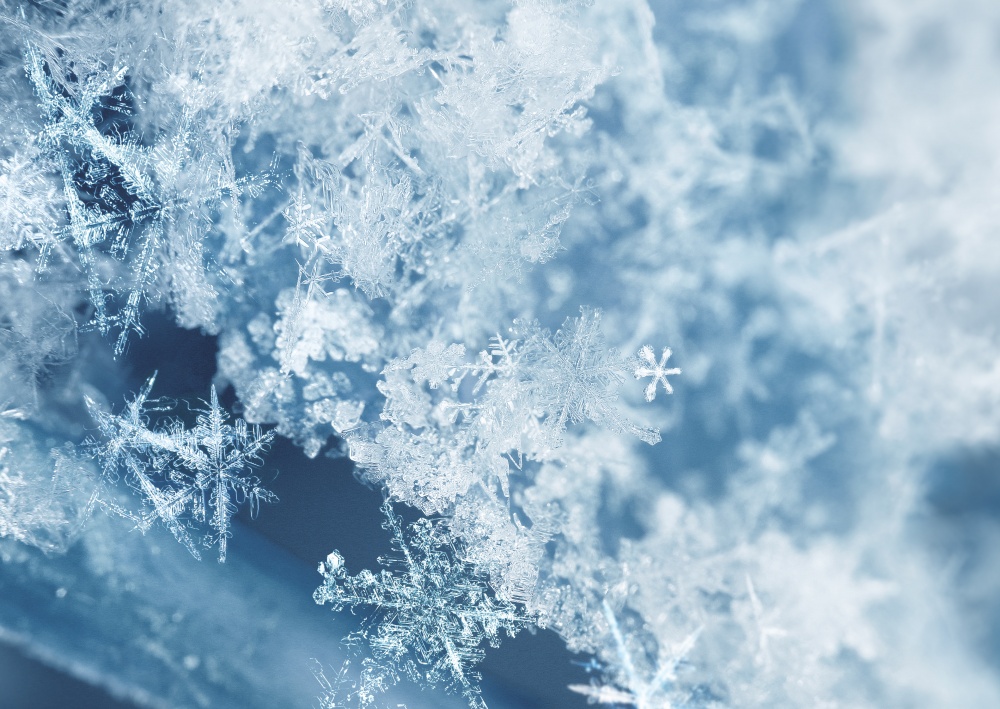
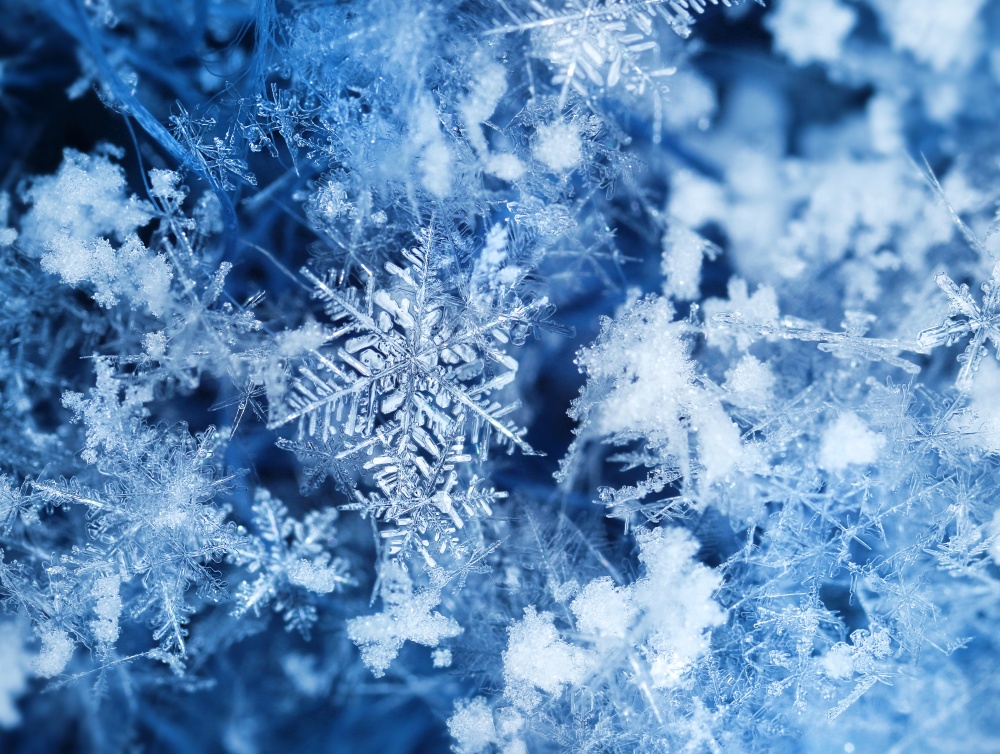
It’s been winter here for months already, and it seems like all we get is plenty of wind and snow. The boys have been asking me what snowflakes are made of, how they are formed and what they look like up close, so I thought this was a perfect chance to teach them about God’s beautiful and unique creations 🙂
Snowflakes are symmetrical but they are not perfect.
It’s okay to be smart- Joe Hanson https://www.youtube.com/watch?v=fUot7XSX8uA
They are ordered but they are created in disorder.
Every random branch, retells their history, that singular journey that they took to get here.
Most of all they are fleeting and temporary.
Even if they look unique on the outside, inside they are all different!
I don’t know about you, but when I heard this, It really touched something inside of me!
A Little Bit of History
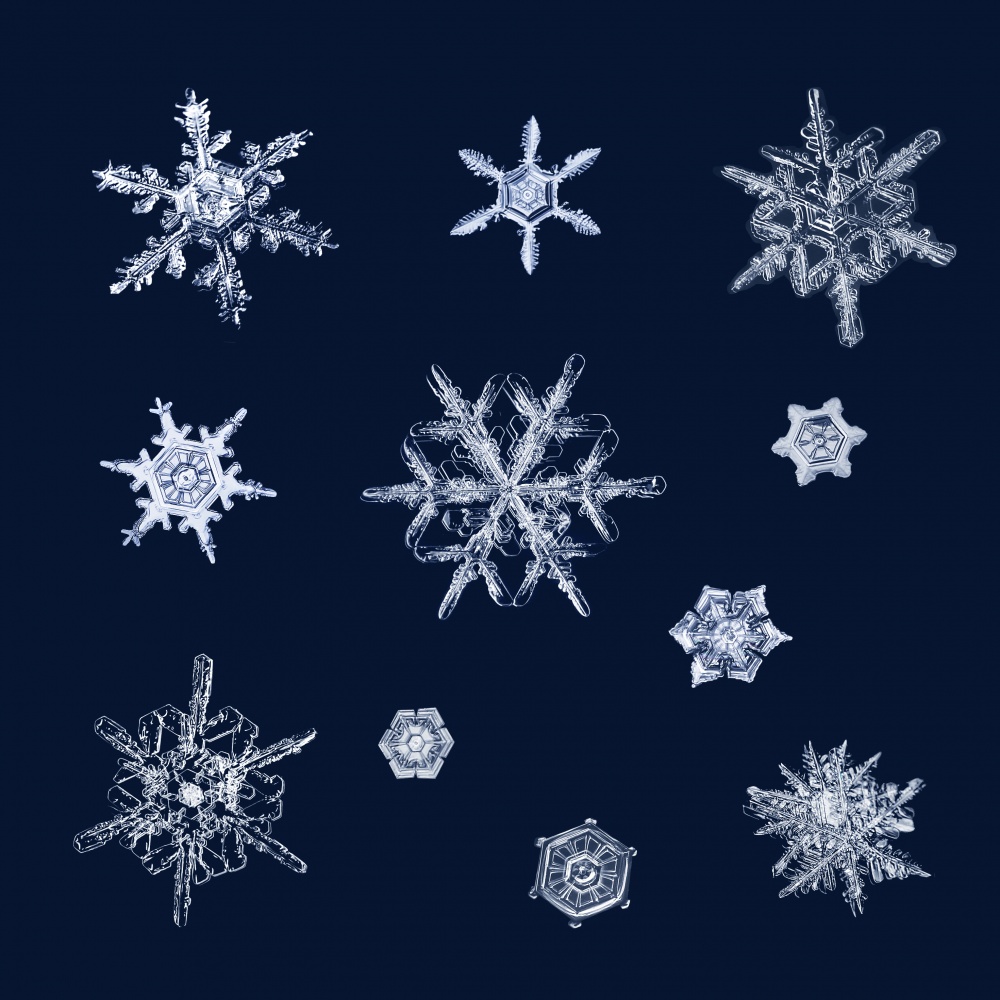
“Wilson (Willie) Bentley (1865-1931) was born on a farm in Jericho, Vermont, … [an area with] an average annual snowfall of over 120 inches.”
“At age 15 he began drawing snowflakes while looking at them through his microscope – no easy task, because most of them melted before he could complete a drawing. At age 16 he learned about a camera that could be used with a microscope. His parents saved the money and when Willie was 17 they bought him the camera. It took him over a year of failures before he finally achieved his goal – a photograph of a snowflake, the first one ever taken.”
(Acts and Facts, 12/2011)
After a long time of studying, collecting and photographing snowflakes, Bentely eventually made thousands of pictures for magazines, universities and other forms of media.Snowflake Bentley- Article
“At age 66 Bentley published a large … book of his photographs titled Snow Crystals … Less than two weeks after his book was published, he walked six miles home in a snowstorm, caught pneumonia, and died two weeks later
Lesson:
There Is No Explanation for the Universe Except That God Made It!
Bentley said:
“…wonders of God’s handiwork are to be found in the tiniest details of all He has made. One powerful example of this beauty is the intricate design of a snow crystal.”
Job 38 – God responded to Job by describing different aspects of creation that prove His right to control the universe.
Verse 22 asks: “Hast thou entered into the treasures of the snow? or hast thou seen the treasures of the hail?”
Because we are not the creators of the universe, we have not right to control it! The stunning art, and beauty of snowflakes is just one of the many proofs that we have that God indeed, is the creator of our universe!
God Appreciates Beauty!
Bentley said: “Anyone who’s seen snowflakes under a microscope cannot help but be amazed by how beautifully complex they are.”
Ecclesiastes 3:11
“He hath made every thing beautiful in his time: also he hath set the world in their heart, so that no man can find out the work that God maketh from the beginning to the end.”
All around us we see beautiful things! God’s creations are everywhere, and it’s easy to see the beauty of a fresh snowfall. But for thousands of years, nobody even knew that snow was beautiful! Nobody had ever observed under a microscope the individual snowflake, but God…He saw this beauty all along!
As we appreciate God’s beauty around us, we will begin to appreciate God Himself.
Are we not more important to God than a simple snowflake?!
If God spent so much time, creating something as simple as snow to be so beautiful, than how much time and love do you think he put into creating his most prized creation- His children?
YouTube Movies:
- Snowflakes Photographed– 7:17
- How Do Snowflakes Form– 2:39
- The Science of Snowflakes– 5:29
- Snowflake Photographer-2:29
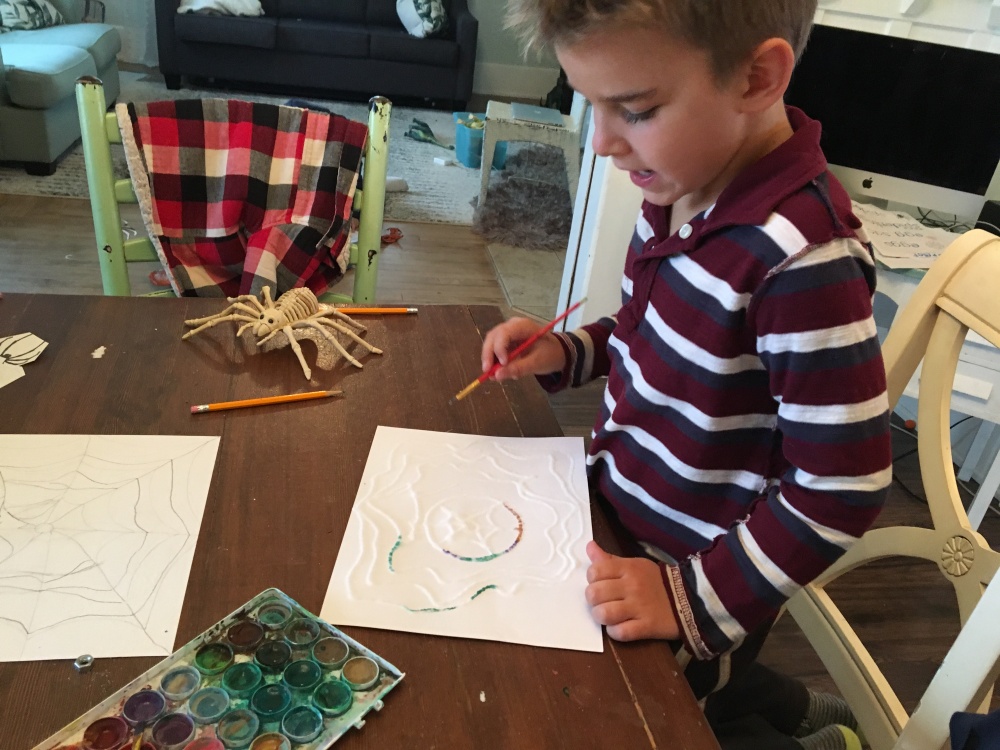
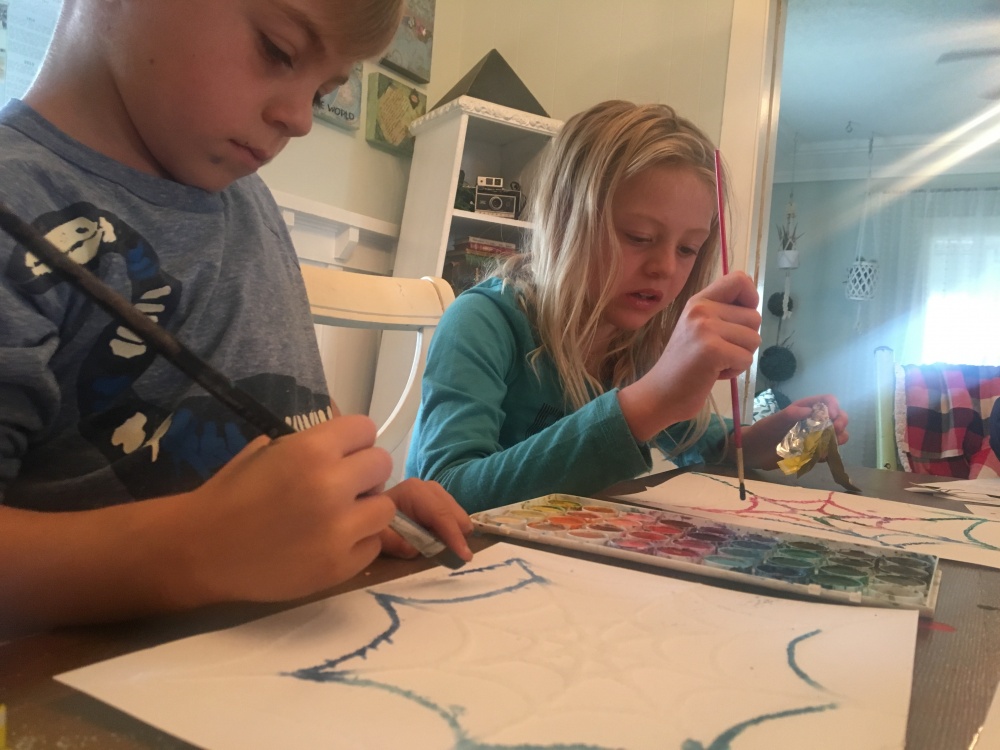
Activities
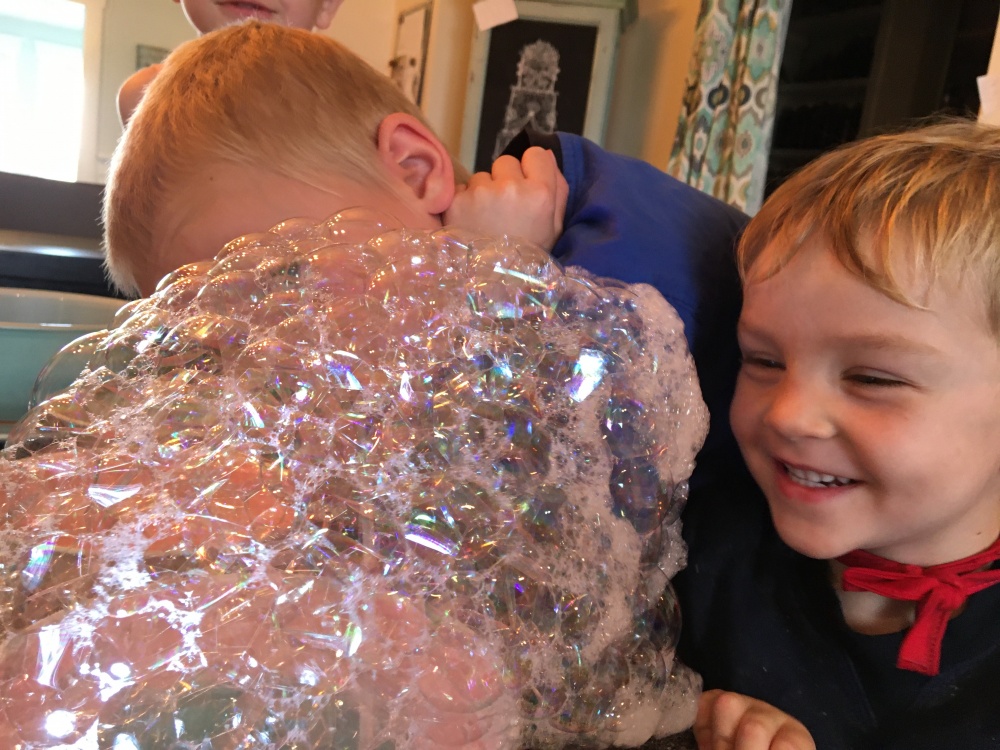
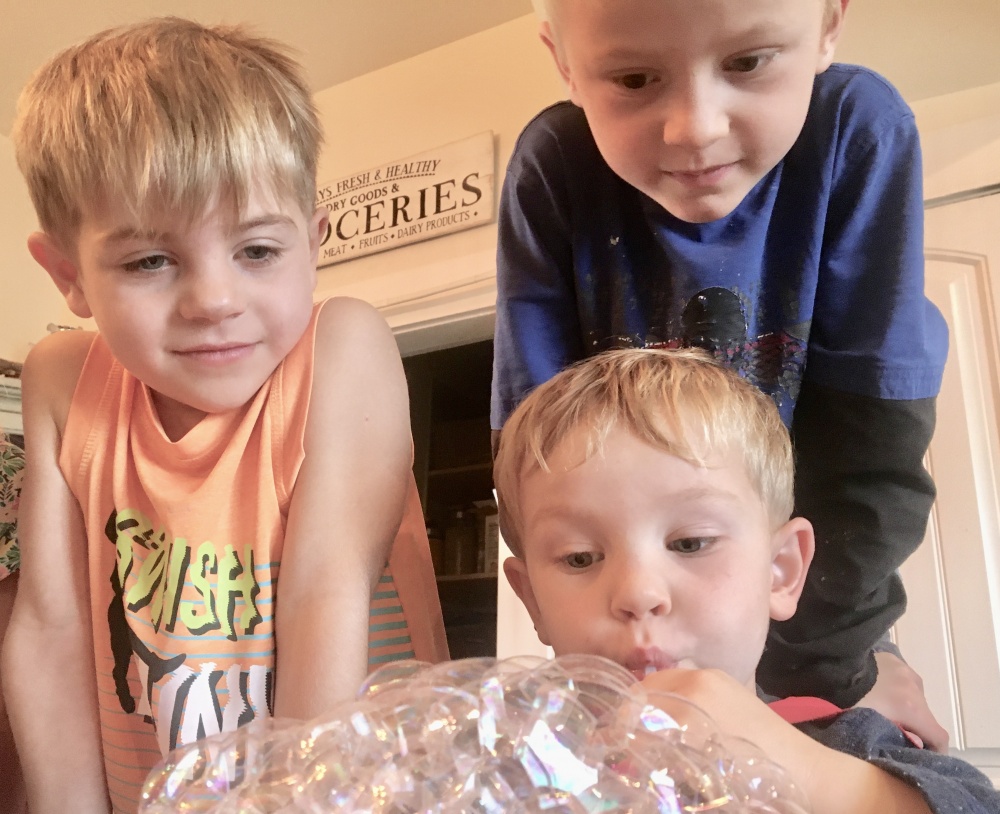
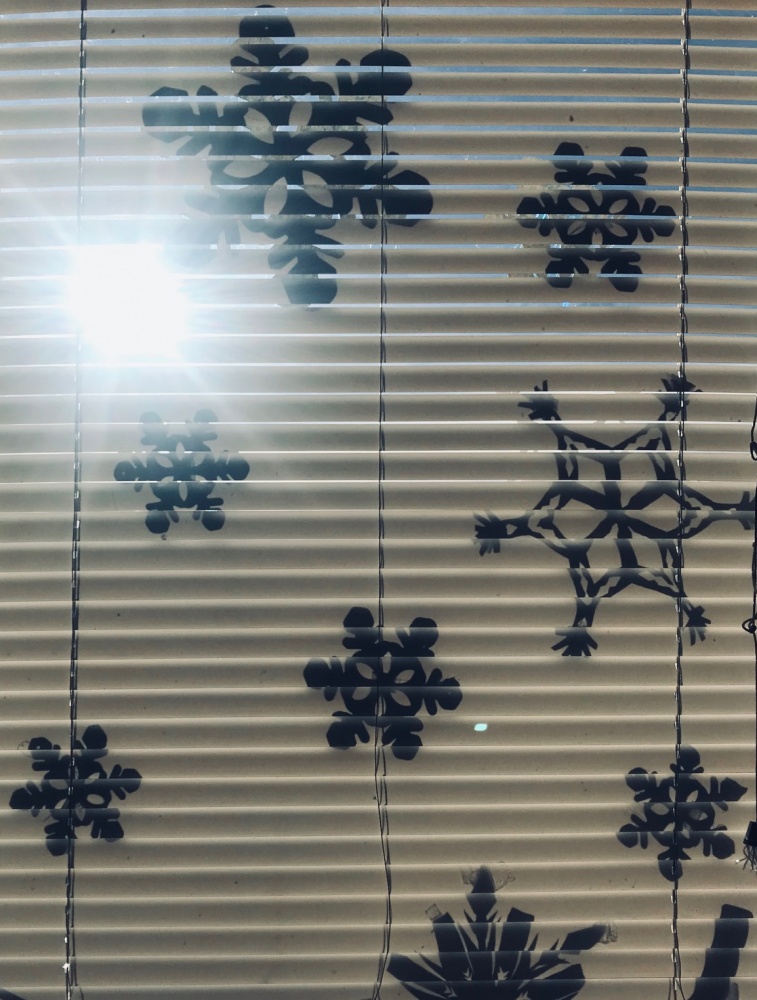
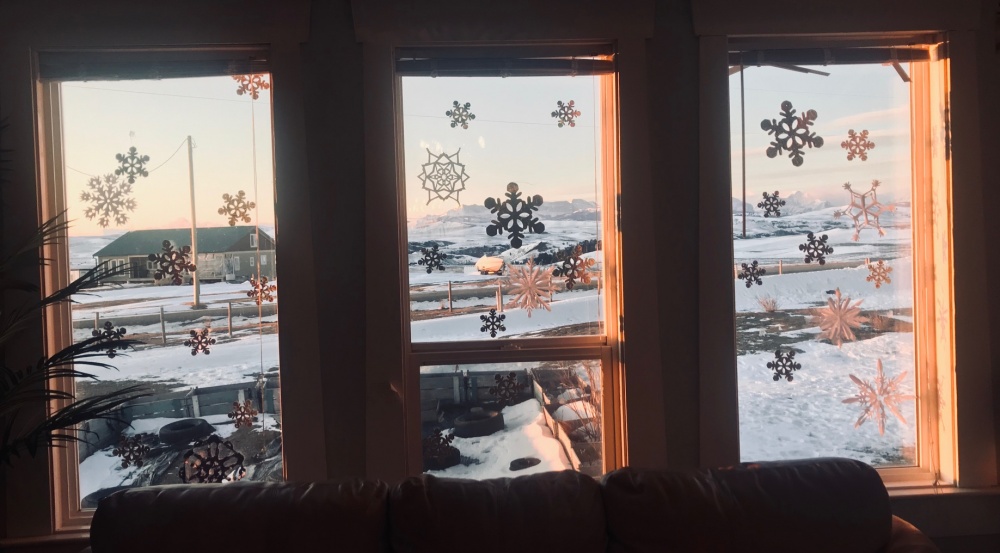
For our activities we cut out snowflakes together, as well as took the microscope outside to look at the snowflakes that we could find and try to identify their shapes! We also made snow candy to end up the day, because who doesn’t love a good treat at home?
Make Paper Snowflakes!
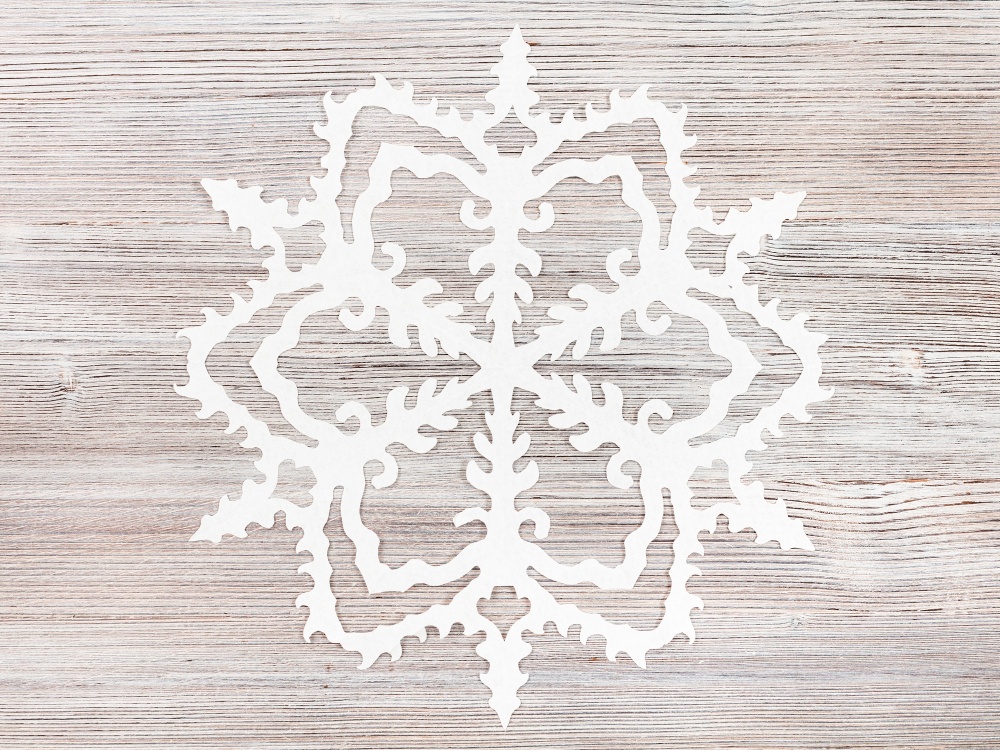
Here are some pretty printable patterns for snowflakes
Make Snow Candy!
Snow Candy Recipe
INSTRUCTIONS
Only 2 ingredients are needed to make maple snow candy.
– I use 1 cup of maple but you can double it. Just make sure you have enough snow ready.
– Fresh, clean snow. I like to use a rectangular pan with a 2-3 inch depth. Like a lasagna pan.
1.) first you fill the pan or pans with fresh Packed snow and set aside either outside or in freezer where it will stay cold.
2.) pour maple syrup into a 4 Qt. pan and heat gradually until syrup begins to boil. Make sure to adjust temp when it gets to a rolling boil so it doesn’t boil over.
3.) after a very short time on heat just low enough to keep it a rolling boil, the bubbles will begin to change both color and consistency. There is no need to stir at all but you must monitor constantly. Do not walk away and you will be rewarded!
4.) in the beginning it boils with a lot of large bubbles. It will be a light amber color.
If you use a thermometer then heat the syrup to about 234 degrees F. A higher heat will make a stiffer candy. I actually don’t use a thermometer. It’s how we did it growing up and you can too.
5.) as the hot syrup nears the candy stage, there will be fewer and fewer large bubbles and the mass will become more foamy in consistency.
Very quickly after this it should become uniform in consistency and the amber mass will take on a more glassy appearance. This means it is ready to pour – you have attained liquid candy!
6.) grab your pan(s) of snow. Pour the liquid in a thin stream onto the snow. Liquid is very hot so be careful!
Try not to pour too much on top of itself as it will be too thick.
The candy will cool very rapidly on the snow. The result will be a chewy, glassy looking taffy like candy.
You only need to wait 10-15 seconds as the snow will rapidly cool the candy. You can use your fingers or a fork to eat it.https://www.bigoven.com/recipe/maple-snow-candy/447094
7.) make sure to collect your candy out of the snow if you don’t eat it all right away. If you leave it in the snow too long it will begin to melt.
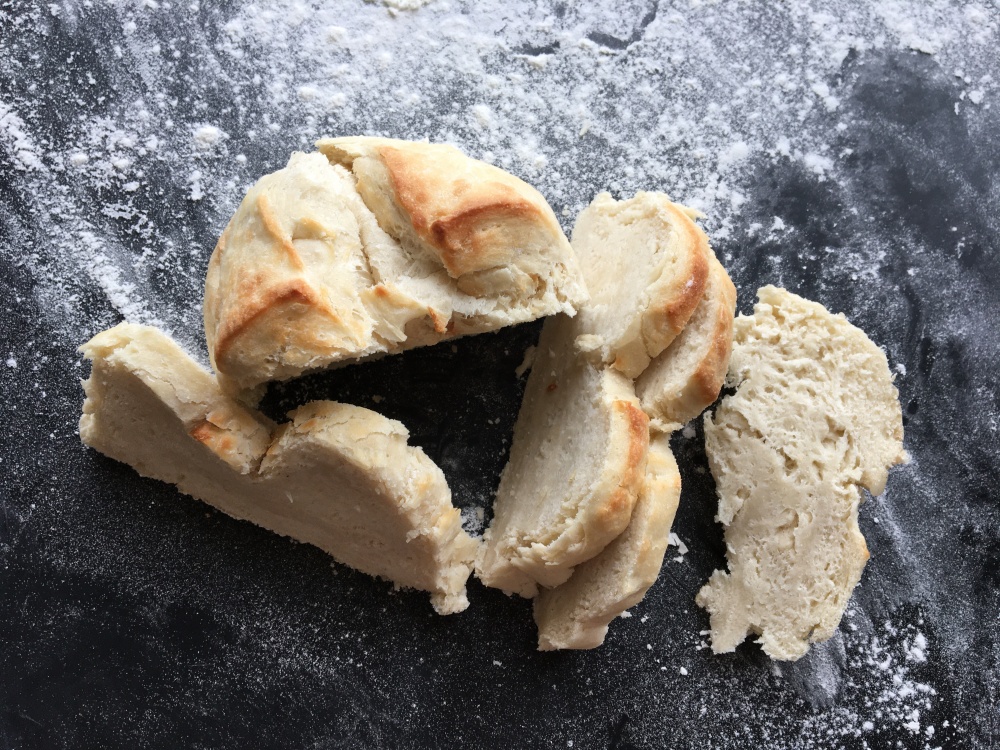
Make Snowflake Cookies
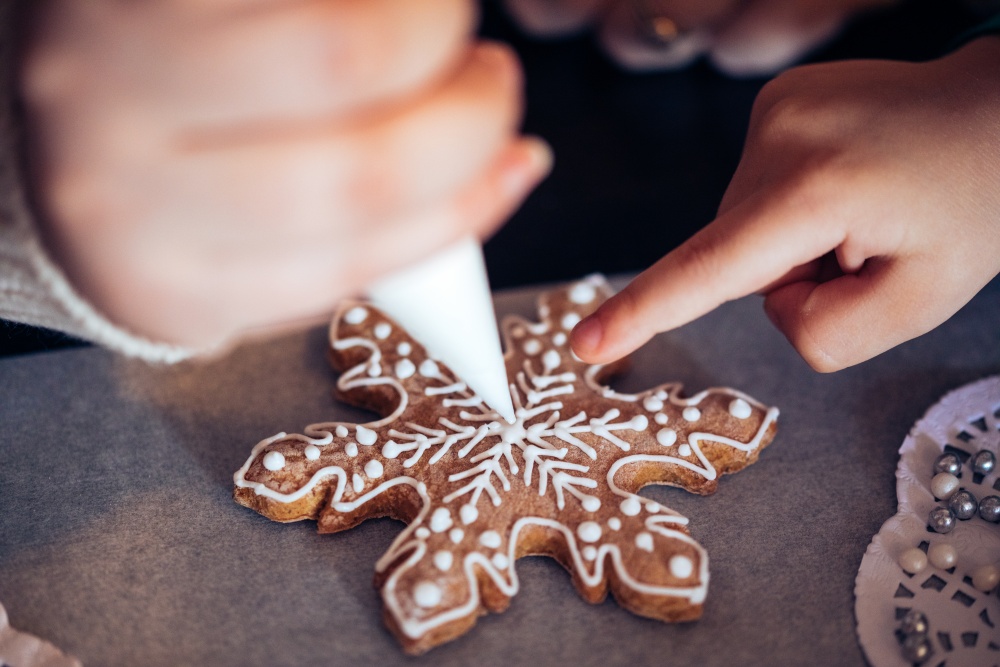
Sugar Cookie Recipe
- 3 cups all-purpose flour
- 3/4 teaspoon baking powder
- 1/4 teaspoon salt
- 1 cup unsalted butter, softened
- 1 cup sugar
- 1 egg, beaten
- 1 tablespoon milk
- Powdered sugar, for rolling out dough
Sift together flour, baking powder, and salt. Set aside. Place butter and sugar in large bowl of electric stand mixer and beat until light in color. Add egg and milk and beat to combine. Put mixer on low speed, gradually add flour, and beat until mixture pulls away from the side of the bowl. Divide the dough in half, wrap in waxed paper, and refrigerate for 2 hours.
Preheat oven to 375 degrees F. Sprinkle surface where you will roll out dough with powdered sugar.
Remove 1 wrapped pack of dough from refrigerator at a time, sprinkle rolling pin with powdered sugar, and roll out dough to 1/4-inch thick. Move the dough around and check underneath frequently to make sure it is not sticking. If dough has warmed during rolling, place cold cookie sheet on top for 10 minutes to chill. Cut into desired shape, place at least 1-inch apart on greased baking sheet, parchment, or silicone baking mat, and bake for 7 to 9 minutes or until cookies are just beginning to turn brown around the edges, rotating cookie sheet halfway through baking time. Let sit on baking sheet for 2 minutes after removal from oven and then move to complete cooling on wire rack.
https://www.foodnetwork.com/recipes/alton-brown/sugar-cookies-recipe-1914697
Conclusion
It was such a fun today! The kids used so much creativity in asking questions and making beautiful decorations for the windows. It was wonderful to be able to show that the same God who creates the million and billions of individual snowflakes is the same God that creates us! Thanks for joining us!